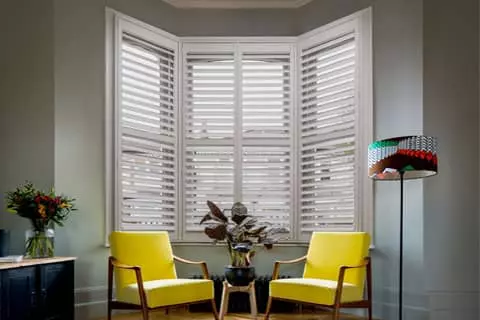
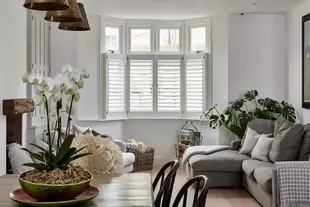
Once a shutter order has been placed, we find that many of our fabulous clients are filled with excited anticipation for their installation. Unfortunately, due to the custom nature of shutter manufacturing, and lengthy shipping times, the wait can feel a little long but luckily we have the perfect solution to this!
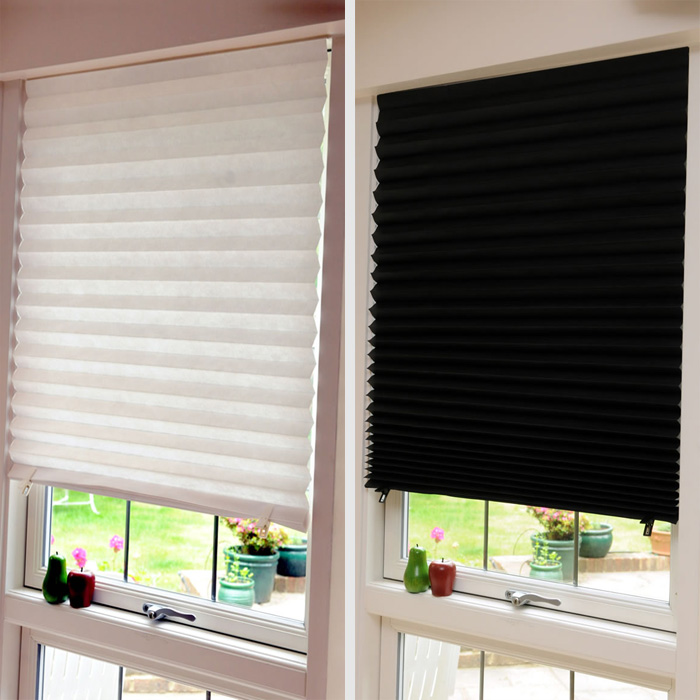
For those who would like them, we can offer temporary blinds for the windows. Whilst they are nothing glamourous, temporary blinds are a great way to cover windows that are waiting for their more permanent and long-term dressing to arrive – more glamourous than a bedsheet over the windows at least though! These paper blinds are stuck either directly onto the window or its surrounds and remain in place until ready to be removed. Temporary blinds are usually ordered on confirmation of order. If the order is placed at the time of the measure appointment and our expert surveyors have some on board, the blinds will be installed by our surveyors. Alternatively, if the blinds are ordered at a later stage than the appointment, we can arrange for them to be delivered directly to the property.
The shutters are exceptionally easy to install yourself and so if delivered direct then here is a quick and easy how to guide for installing the temporary blinds.
To Install
- 1. Clean down the windows
Before you begin, use your usual method to clean down each of the windows you will be installing the temporary blinds to. - 2. Measure and cut the blinds to size
Temporary blinds come as a standard size so often need to be cut down to fit the window they will be added to. Occasionally, more than one will be required. The most effective way to cut the blinds down is to measure the area which the blinds will be added to and then carefully use a Stanley Knife to slice through the different blind layers all folded together. If you do not have access to a Stanley Knife, a set of scissors can be used however this will need to be done with care as not all layers can be cut through at the same time so the blind will need to be extended out. - 3. Remove the peel away strip at the back of the temporary blind
At the top of the blind, a sticky plastic strip can be found at the back which has a peel away cover. Once the blind has been cut to size (you can hold up the blind over the required section to check this), remove the strip to expose the sticky attachment so that the blind can be attached. - 4. Stick directly onto the area and hold
Once ready, press and hold the sticky section of the blind to the top of the glass or window area to secure. The blinds do come with pins if preferred to attach elsewhere around the window area, however pins are not usually recommended for standard windows as this method is most likely to cause damage to or around the window. - 5. Utilise clips for blind operation
The temporary blinds all come with plastic clips which allow the blinds to be folded up. Whilst in place, the blinds are controlled by unclipping the plastic holders and allowing the blind to concertina down when light blockage needs to be achieved in the room. During the day, the blinds can simply be folded back up and clipped into place.
To Remove
When the time approaches for your shutter installation and our logistics have notified you of their upcoming delivery to our Battersea warehouse, removing the temporary blinds will be just as easy as their installation. We always recommend removing the temporary blinds ahead of the shutter installation as this will give you plenty of time to clean down the window area which is easiest to do with no dressing on the window.
- 1. Reduce the size of the blind by cutting down the bottom
Temporary blinds are not as effective once they have already been used. If you intend to dispose of the blind (we recommend recycling as the best method due to the material the blinds are made from), then cutting the height of the blind down to very little will make the blind removal easier. If you are hoping to reuse the blind then it is still possible to remove without cutting down but it is recommended that it is done with the blind folded up with the clips in place as the most effective method. - 2. Remove the blind from the window area
Starting from the bottom corner, slowly peel the blind away from the window being careful not to rip the blind as it is being pulled away. - 3. Remove any remaining sticky residue
It is very normal for the blind to leave a small bit of sticky residue on the window – don’t worry though, this won’t leave any lasting damage and can be easily cleaned. The best method for removing this residue is to use nail varnish remover or similar. - 4. Clean the windows
Once the residue has been removed, give the windows another clean down and they will be ready to go for the shutters to be installed!
If you need assistance with your temporary blinds, the Plantation Shutters team are on hand to help in any way you need. You can reach our team on 02088719222, by email on hello@plantation-shutters.co.uk or through our Contact Forms.