If you’re new to shutters, you may not have experienced some of the key pieces of terminology that are used to describe technical specifications and shutter designs. This handy guide will introduce you to some of the key terms that you may come across whilst you are doing your research. Don’t forget that the team are always on hand to guide you through each concept and help with any queries that you may have too.
Panel
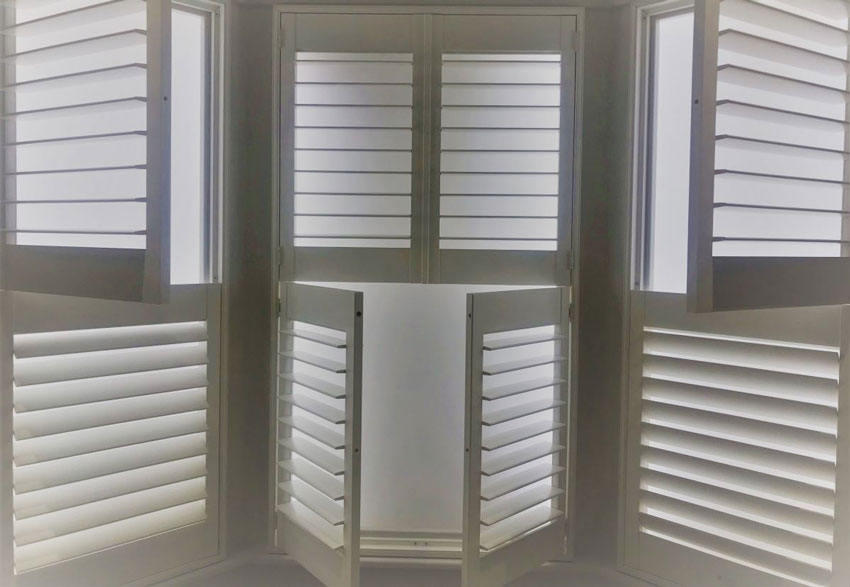
Shutter panels are hinged to the fixing frame and swing open like a door to expose the window or area behind. This is where slats are located or the way natural light is re-introduced into the room in sloid shutters.
Slat/ louvre
Slats, or louvres, are the small pieces of wood that sit in the shutter panel. Slats are operated by either pushing a single slat which is clipped into an internal cog mechanism or by using the tilt rod located on front the panel.
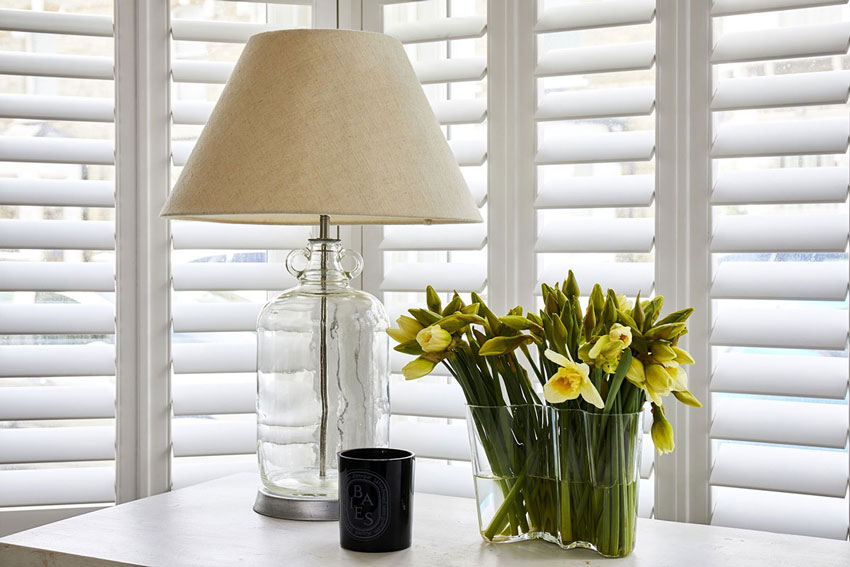
Tilt Rod
A tilt rod is the wooden stick attached to the front of shutter panels, centred, or offset, and is used to control the tilt angle of slat sections. You have the choice whether to opt for a tilt rod or not for your shutters. In the absence of the rod, an internal cog mechanism is built into the shutter panel. Slats clip into the mechanism and are operated by pushing a single slat to tilt entire sections as one unit.
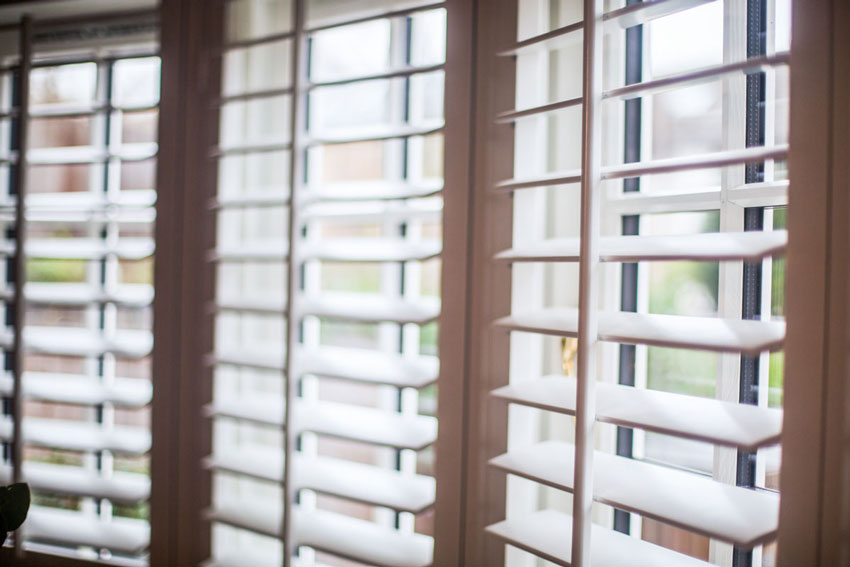
Stile
The ‘stile’ of the shutter refers to the wood located either side of the slats in the panel. This wood is connected to top rails using mortise and tenon joinery for the strongest possible join and is one of the tell-tale signs of exceptionally strong shutter build quality. Stiles come in Plain or Beaded options. The difference between the two is very subtle, the plain has a straightforward join whereas the beaded features a decorative ridge along the edge to add an extra feature to the shutter.
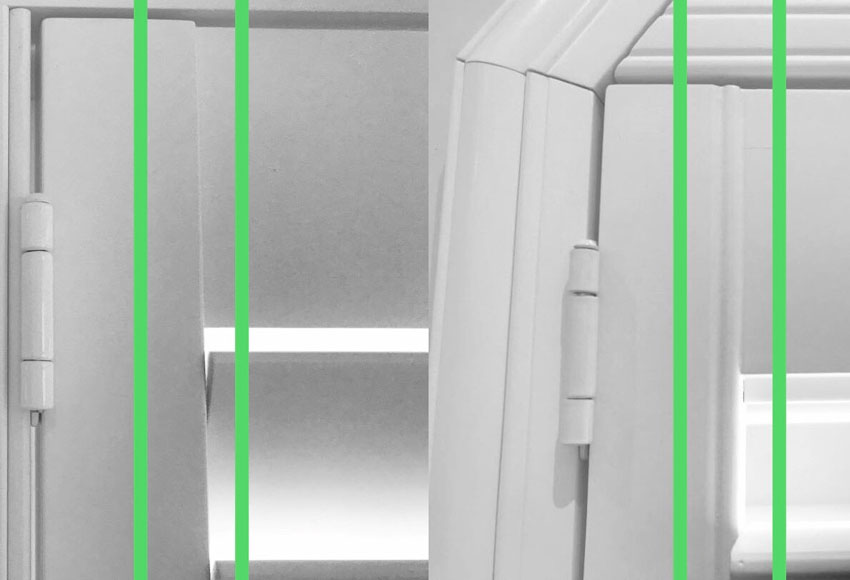
Rail
There are two rails on every shutter panel located above and below the slats. A divider rail may also be added but is not standard on every shutter style. Rails are exceptionally sturdy, giving support to the panel and any optional extras such as locks. In tier on tier shutters, double rails are featured where panels are vertically stacked so top and bottom rails meet.
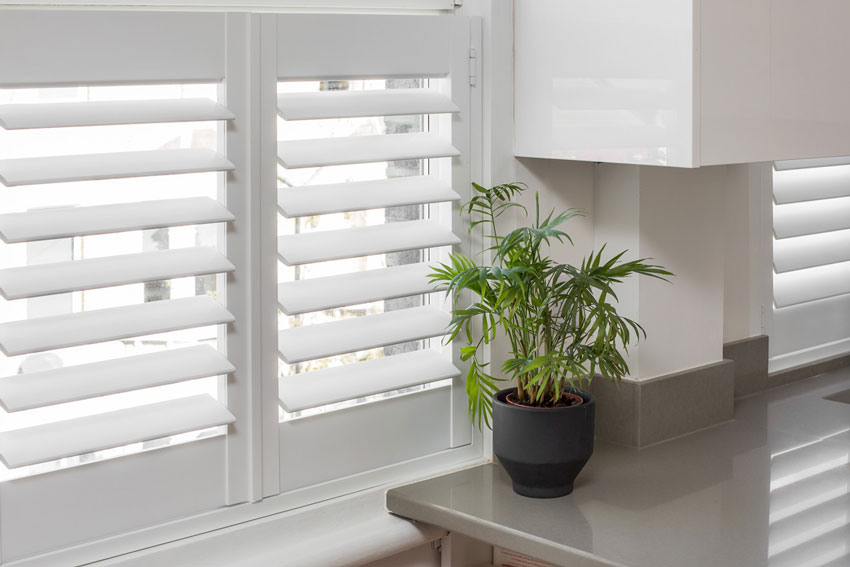
Frame
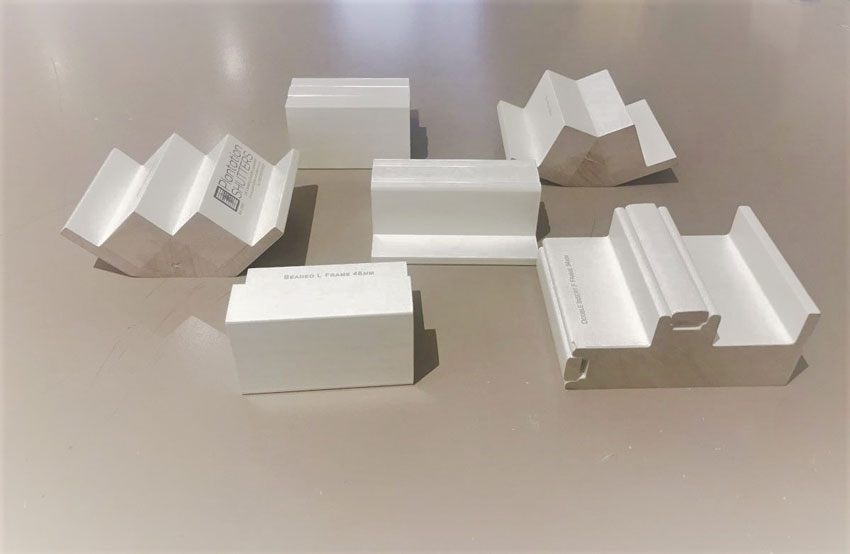
The frame is where the shutters attach to the windows or their surrounds. Various framing styles are used for shutters with the best option identified by our experts based on the window and where shutters will fit to and how they will operate. The panels are attached to the framing by inserting a hinge pin between the frame and panel hinge parts.
Divider rail
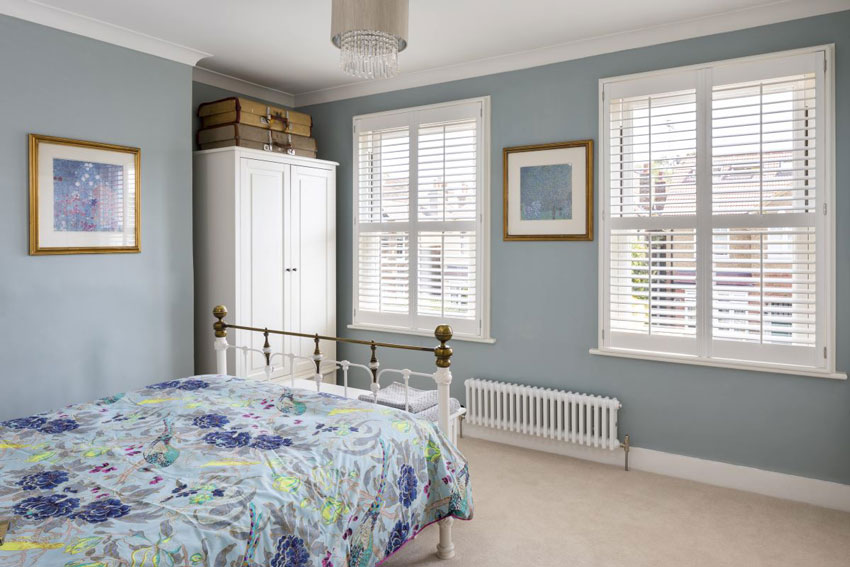
A divider rail is used for decorative purposes to align with the window divide or for structural support on particularly large panels. The location of the divider rail is usually dictated by any divides in the window or in the middle of the panel (the reason it may also be referred to as a mid-rail).
Tension screw
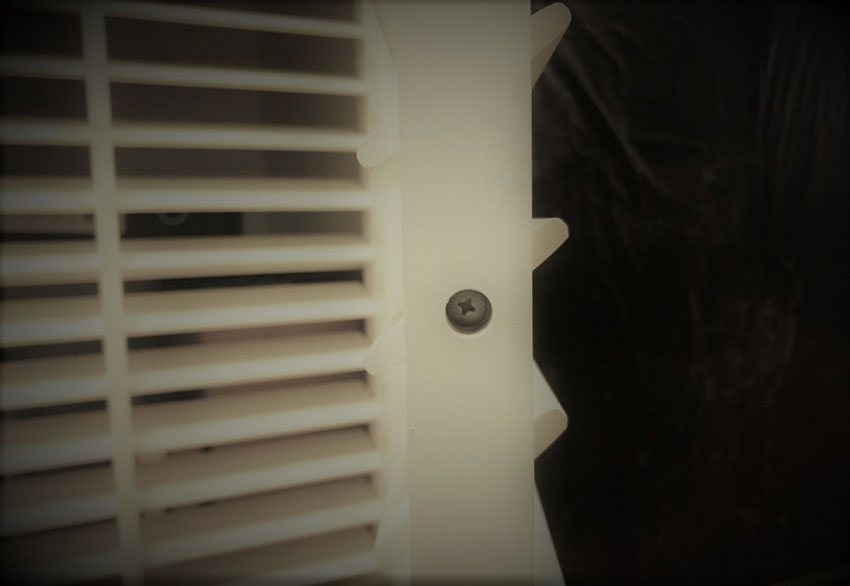
The tension screw is located on the inside edge of the shutter panel. This screw controls how tight the slats are and their movement tension. Accessing this screw allows you to adjust the slat tension yourself using a Philip-head screwdriver so you can achieve the perfect level of resistance when you manoeuvre the slats.
Hinge Pin
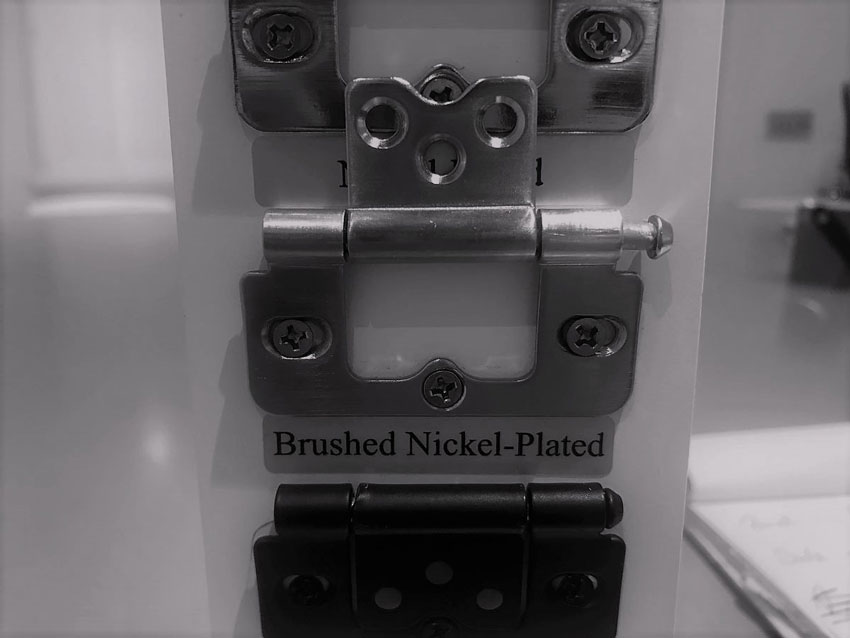
The hinge pin attaches shutter panels to the framing. Both parts have a part of the hinge attached and this pin connects them together. By attaching the panels in this way they can be easily removed without requiring the framing to be un-fixed too.
Solid Panel Differences
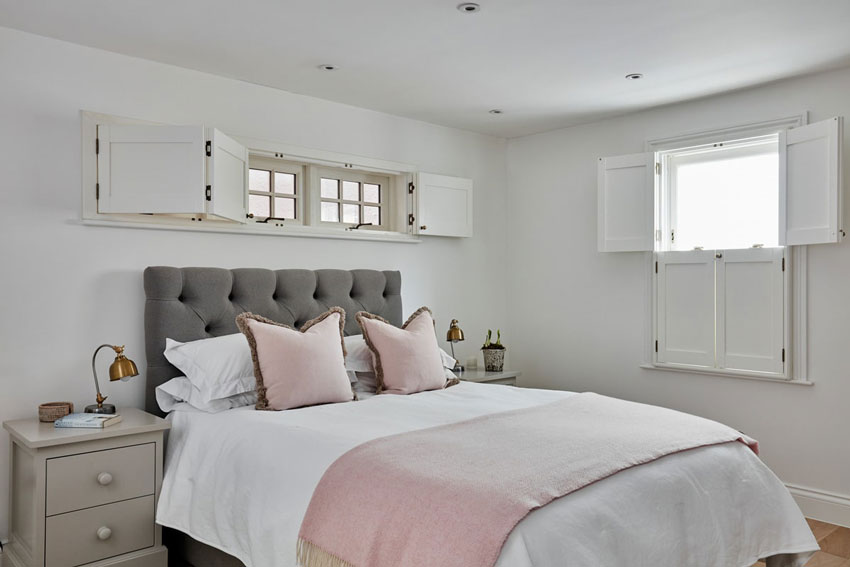
Occasionally, our customers opt for solid panelled shutters which are made entirely from wood with no slats. Some pieces of terminology may not be relevant in this instance. For example, you will not find tension screws on these solid panels as there are no slats present.
You can get in touch with our team on 020 8871 9222 with any queries you may have about shutters or shutter terminology. Want a price? Our Online Quote Calculator will guide you through material costs so you can get an idea of supply only prices or we can offer a full service cost over the phone.

